Bed Rack And Awning · Volume 1
The Rack System, and the Geometry Nobody Checks First
Introduction
⚠ Written 2026-08-24, before delivery. The rack has since arrived and been weighed at 115 lb — 35 lb lighter than the 150 lb estimated here — and the tent it was bought to carry is now a 139 lb Smittybilt Gen2 Overlander XL (→ Rooftop Tent vols 2–3). The geometry reasoning below is unchanged and is what the install was done against.
Three components were on order and none had arrived: the Xtrusion XTR3 bed rack at 26 inches ($2,259), the 18-inch XTR awning upright kit ($195), and the Topoak 270° awning ($649). Together they are the largest single expenditure on this build and they define what the bed can do for the next decade.
This is the right moment to work out whether they fit each other and the truck, because two of the three answers are not obvious and one of them was wrong on the original equipment list.
1.1 What was ordered, corrected
Table 1 — What was ordered, corrected
| Component | Specification | Price |
|---|---|---|
| XTR3 bed rack, 26 in | 1530 aluminium extrusion, T-slot on all four faces of every profile; six uprights, four top braces, four side braces; four-quadrant independently adjustable architecture | $2,259 |
| XTR awning upright kit | 🔴 Not an 18 in riser. Vertical 1530 uprights that slide into the rack’s own side braces, giving an adjustable 8–18 in mounting range — Xtrusion’s stated purpose is clearing a bed cover and cargo, not a rooftop tent | $195 |
| Topoak 270° awning, 83 in “Wide Shade”, left / driver side | Packed 84 × 8 × 11 in, 64 lb. Requires 4 in clearance from the corner | $649 |
The awning correction. The equipment list recorded “183 in”, and Topoak sells the 270° awning in exactly two variants: 83 in “Wide Shade” at $649 and 98 in “Extra-Wide Shade” at $849. The recorded price identifies the order as the 83-inch unit. This matters because the layout has to accommodate an 84-inch packed length, not a 183-inch one — and because the two numbers imply completely different problems.
Rack capacity, which is better than it first appears:
Table 2 — Rack capacity, which is better than it first appears:
| Load case | Limit |
|---|---|
| Dynamic, off-road | 450 lb |
| Dynamic, on-road | 850 lb |
| Static | 1,550 lb |
Dynamic off-road is the number to design against. Static capacity is what holds sleeping occupants while parked; on-road dynamic is for pavement. The 450 lb figure is what the rack tolerates while being driven over the terrain this build exists for.
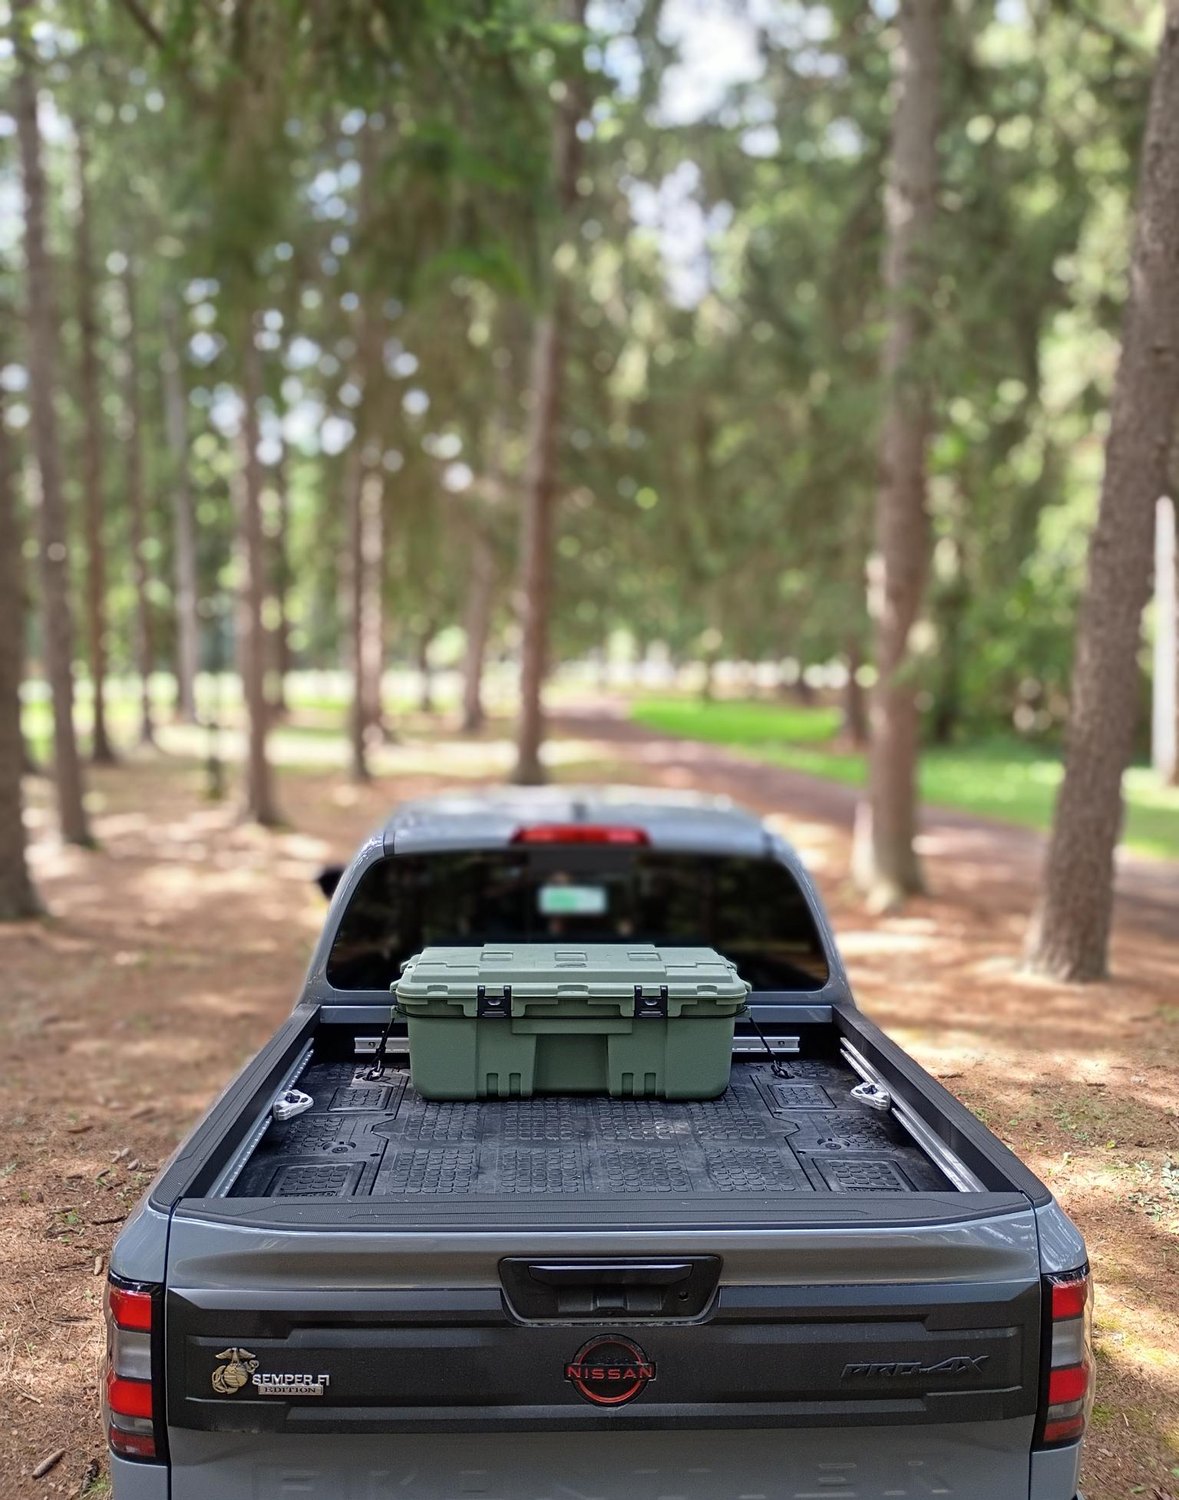
1.2 The geometry problem: an 84-inch awning on a 60-inch bed
The truck has a 5-foot bed — 60 inches. The awning packs to 84 inches. It is two feet longer than the rack it mounts to.
This is not a defect and it is not a mistake in the order. A 270° awning is designed to shade the length of a vehicle, not the length of a bed, and on a crew-cab truck the natural installation runs the awning forward over the cab or aft past the tailgate. But it has consequences that should be settled before the brackets are torqued:
🔴 CORRECTED 2026-09-01 — the original reasoning in this section treated the awning as if it shaded one patch, and it does not.
The overhang has to go somewhere, and the choice is fore or aft. What was wrong was the assumption about what that choice buys.
⭐ A 270° awning does not have “a” shade area. It wraps. Deployed, it covers the driver’s side, and around the rear, and around the front at the same time — that is what the 270 in the name means. So the fore-and-aft position does not choose between shading the doors and shading the tailgate. It shifts the whole wrap along the vehicle, and the question is which end of the wrap you want landed accurately.
⭐⭐ Which makes the better answer aft, for a reason the original text missed entirely: align the awning’s rear end with the rear of the truck and the aft arc lands over the tailgate. On a truck the tailgate is the work surface — the counter, the table and the seat. It is where cooking happens, where gear gets sorted, and where people sit. Shading it is worth more than shading any other single square metre of the camp, and because the wrap is 270° the doors stay covered anyway.
So the two options, restated honestly:
Aft, rear of the awning even with the rear of the truck: ⭐ the aft arc shades the tailgate and the side arc still shades the doors. The costs are real but small — about 24 inches of overhang behind the truck at roughly eight feet of height, which adds to effective length when backing to a coupler, and 12 lb of axle transfer toward the rear, on the axle that has less margin. ⚠ Neither is large; both should be known.
Forward, over the cab: the wrap moves forward with it, so the aft arc stops short of the tailgate and the shade lands over the hood end instead — the part of the vehicle nobody works at. ⚠ It also puts the packed case above and forward of the cab roof, which the original text worried would sit in the driver’s peripheral view.
⭐ That peripheral-view concern does not survive the height arithmetic either. The case sits at 44 to 55 inches above the bed rail — roughly two to three feet above the cab roof. The windshield header cuts the driver’s forward view off well below the roofline, so a case that high and that far forward is outside the field of view through the glass. ⚠ Worth confirming from the driver’s seat once the rack is assembled, but the geometry says it is a non-issue.
🔴 The recommendation is therefore reversed: mount it aft, with the rear of the awning aligned to the rear of the truck. The original “forward is probably right” was reasoning from a straight-awning model of a wrap-around awning.
⭐ And it resolves a conflict raised elsewhere in this project. Rooftop Tent volume 3 sends the tent’s 16 inches of overhang forward over the cab, and worried about the awning’s 24 inches wanting the same space. With the awning aft, the two overhangs go opposite ways and cancel rather than stacking at the front of the truck.
1.3 The driver’s-side rail, and one deliberate exception
The driver’s side is spoken for. Whichever way the overhang goes, the awning and its brackets own that entire rail plus its deployed sweep. The Antennas and Mounting dive builds its whole layout on this: no antenna, no coax and no bracket goes on the driver’s side or anywhere the arms travel.
⭐ One exception is now worth making deliberately, because the structure offers something nothing else on the rack does: the awning uprights are VERTICAL.
The XTR3’s main structure rakes back toward the bed. The 18 in awning upright kit does not — the uprights stand vertical, with a plate adapting them to the angled rack. 🔴 A vertical antenna wants a vertical mounting surface, and on a raked rack every other position needs a wedge or an adapter to stand an antenna up straight. The uprights are the only naturally vertical structure on the vehicle above the bed rails.
⚠ Height, corrected. An earlier version of this volume claimed the uprights top out around 44 in above the bed rail. They do not — see the correction below. They engage the rack’s side braces and land the awning near the top of the rack’s own envelope, at roughly the height of the tent’s floor. An antenna on the upright therefore sits alongside the tent rather than above it, which makes the clearance check below more important, not less.
⚠ Two things to verify before drilling, and they are exactly what the install checklist already calls for.
🔴 The uprights are also where the awning’s arms pivot. Whether an antenna clears the sweep depends on where on the upright it sits and how the arms travel. This is the arm-sweep tape exercise from volume 3, now with a specific question to answer rather than a general caution.
⚠ Ground plane. A vertical extrusion is not a ground plane, and whether that matters depends entirely on the antenna. A no-ground-plane design is unaffected; a quarter-wave whip is not. Establish which this one is before choosing the position, because the answer changes whether a ground-plane disc or a different location is needed.
1.4 🔴 The upright kit, and a 17-inch error this volume propagated
CORRECTED 2026-09-01, after the owner looked at the hardware. This volume originally described the kit as “sub-structure raising the awning above the rack deck” and added 18 inches to the height stack. Both halves were wrong, and the error spread into six volumes.
What the kit actually is, from Xtrusion’s own description: the uprights slide directly into the 1530 extrusion of the rack’s side braces, and offer an adjustable mounting height of 8 to 18 inches — a range within the rack’s structure, not a fixed riser bolted on top of it. ⭐ Xtrusion’s stated purpose is mounting the awning “high enough to clear your bed cover and cargo” — that is, clearing something below the rack deck, not a tent above it.
🔴 So “18 inches” is the top of an adjustment range measured from where the kit engages the side brace — not 18 inches of rise above the rack. The volume inferred a dimension from a product name and never checked it.
⭐ The owner, looking at the assembled parts, puts the awning at roughly the height of the tent’s floor — an inch or two above the top of the XTR3. That is exactly what “slides into the side braces” predicts, and it is consistent with the vertical-upright-plus-angled-plate construction described above.
What that changes:
🔴 The vehicle is roughly 17 inches shorter than this volume said. The old arithmetic was rack 26 + upright 18 + awning body 11. It should be closer to rack 26 + an inch or two + awning body 11 — and 17 inches is the difference between a rig that clears a standard garage door and one that does not. ⚠ This is precisely the number the volume tells the owner to measure and tape inside the cab, which is now more important than ever.
🔴 The tent, not the awning, is probably the tallest thing on the truck. Closed tent top sits at about 37.5 in above the bed rail; the awning body now lands at roughly the same place. They are effectively tied, where this volume had the awning winning by seventeen inches.
🔴🔴 And the awning-to-tent clearance question is materially more serious than it was treated as. With the awning pivoting near the tent’s floor rather than well above it, the deployed arms sweep from a point level with the tent rather than over it. The tent is 47 in wide on a rack of roughly 58–62, so there is perhaps six to eight inches of lateral gap on the driver’s side — enough to be plausible and not enough to be assumed. ⭐ The arm-sweep tape exercise in volume 3 is now the single most important step in the install, and it should be done before the awning brackets are torqued rather than after.
⚠ The arithmetic, corrected: bed rail height on a crew-cab Frontier, plus 26 inches of rack, plus an inch or two to the awning’s mounting position, plus the awning body at 11 inches. 🔴 The original version of this line added 18 inches of upright and was wrong by about 17 inches. The rig is meaningfully shorter than this volume claimed — but nobody should trust either figure. Measure it.
Three practical consequences:
- Standard garage doors are seven feet. So are many drive-throughs, parking structures, and motel canopies. Measure the finished height with a tape and write it on tape inside the cab. This is the single cheapest insurance on the whole build and the most common way expensive rack equipment gets destroyed.
- Deploying and stowing the awning gets harder with every inch. ⚠ At roughly 27–28 inches above the bed rails — not the 44 this volume originally claimed — the awning’s straps and arms are still above comfortable reach from the ground on a truck this tall. Whether that is acceptable is a question best answered by standing next to the assembled rack, not by reading a specification. ✅ ANSWERED 2026-09-01: a lightweight folding two-step, 16 in. ⭐ It is the cheapest fix on the whole rack — a rack this tall makes a step a piece of operating equipment rather than a convenience, and the same stool serves loading the rack deck and reaching the tent ladder’s first rung. ⚠ Weigh it on arrival; carried at 6 lb pending that.
- Wind loading rises with height and area. A deployed 270° awning is a large sail on a tall mount. It is not a structure to leave out unattended in weather, and the guy lines and stakes Topoak supplies are not decoration.
1.5 What the T-slot changes about how this gets built
Every profile carries T-slot channels on all four faces, and this is the most useful property of the whole system.
Nothing has to be drilled. T-nuts and bolts hold brackets anywhere along any member, which means positions are reversible — the awning brackets, the antenna plates, the accessory mounts can all be moved when the first arrangement turns out to be wrong. And the first arrangement usually is.
The right posture is therefore to treat the first season as a tuning exercise. Protect the irreversible decisions — any hole in the truck body, the coax entry, holes in fabricated plates — and treat everything bolted into the T-slot as provisional.
One caution the extrusion invites: T-slot hardware backs out under vibration. Anything load-bearing wants a thread-locking compound or a nylon-insert nut, and the whole rack wants a check at the same interval as tyre pressures. A rack that is checked is a rack that stays where it was put.
1.6 Gates, slides, and Rotopax — what the list is reaching toward
The equipment list carries three further rack items, all still open:
Gates with MOLLE added. Gates close the rack’s sides and turn it into a container rather than a platform, and MOLLE panels on them are genuinely useful for the things that should be reachable without opening a drawer — recovery straps, gloves, a shovel. The caution is that a gate on the driver’s side will conflict with the awning, and gates add both weight and side area for wind.
Side-brace slide-out kit on the inside rails. This is the answer to a real problem: gear stored high on a rack is gear that cannot be reached. A slide brings it out over the side rather than requiring a climb. The tradeoff is that a loaded slide-out cantilevers its weight well outboard of the rack when extended, which is a static load case the 1,550 lb figure does not describe — the concern is the moment on one quadrant, not the total.
Rotopax on the slides. Liquid containers are the classic rack cargo and the classic mistake. A 2-gallon Rotopax weighs roughly 20 lb full, and liquid is the worst possible rack load because it is dense, it sloshes, and it sits high. Two full Rotopax on a slide-out is 40 lb of moving mass at the worst possible height and lever arm.
The honest recommendation on liquids: carry them low. Water and fuel belong in the bed, on the floor, ahead of the axle — not on the rack. If the rack must carry them, carry the empty container up there and fill it at the vehicle. This is a comfort-versus-handling trade and the handling side is undervalued in almost every build.
1.7 The fold-down table, and the sink question
The list records a table off the side connected to the XTR3, folding down, with “maybe sink too?” as an open question.
The table is straightforward and the T-slot makes it easy. The sink is worth thinking about harder than it looks, because a sink is not a basin — it is a basin plus a water supply plus a drain plus somewhere for grey water to go. In a dispersed camping context, grey water disposal is a real constraint rather than a detail: food-contaminated water poured on the ground attracts animals, and in bear country that is a safety matter rather than an etiquette one.
The recommendation is a basin, not a plumbed sink. A basin that can be carried to where the water should go, and emptied deliberately, solves the same problem without a drain, without a pump, and without a grey-water tank — and it can be washed and stowed. The LifeSaver filtration jerry can already on the list supplies the water side. This is a case where the simple answer is not a compromise.
Comments (0)